The Medallic Production Process
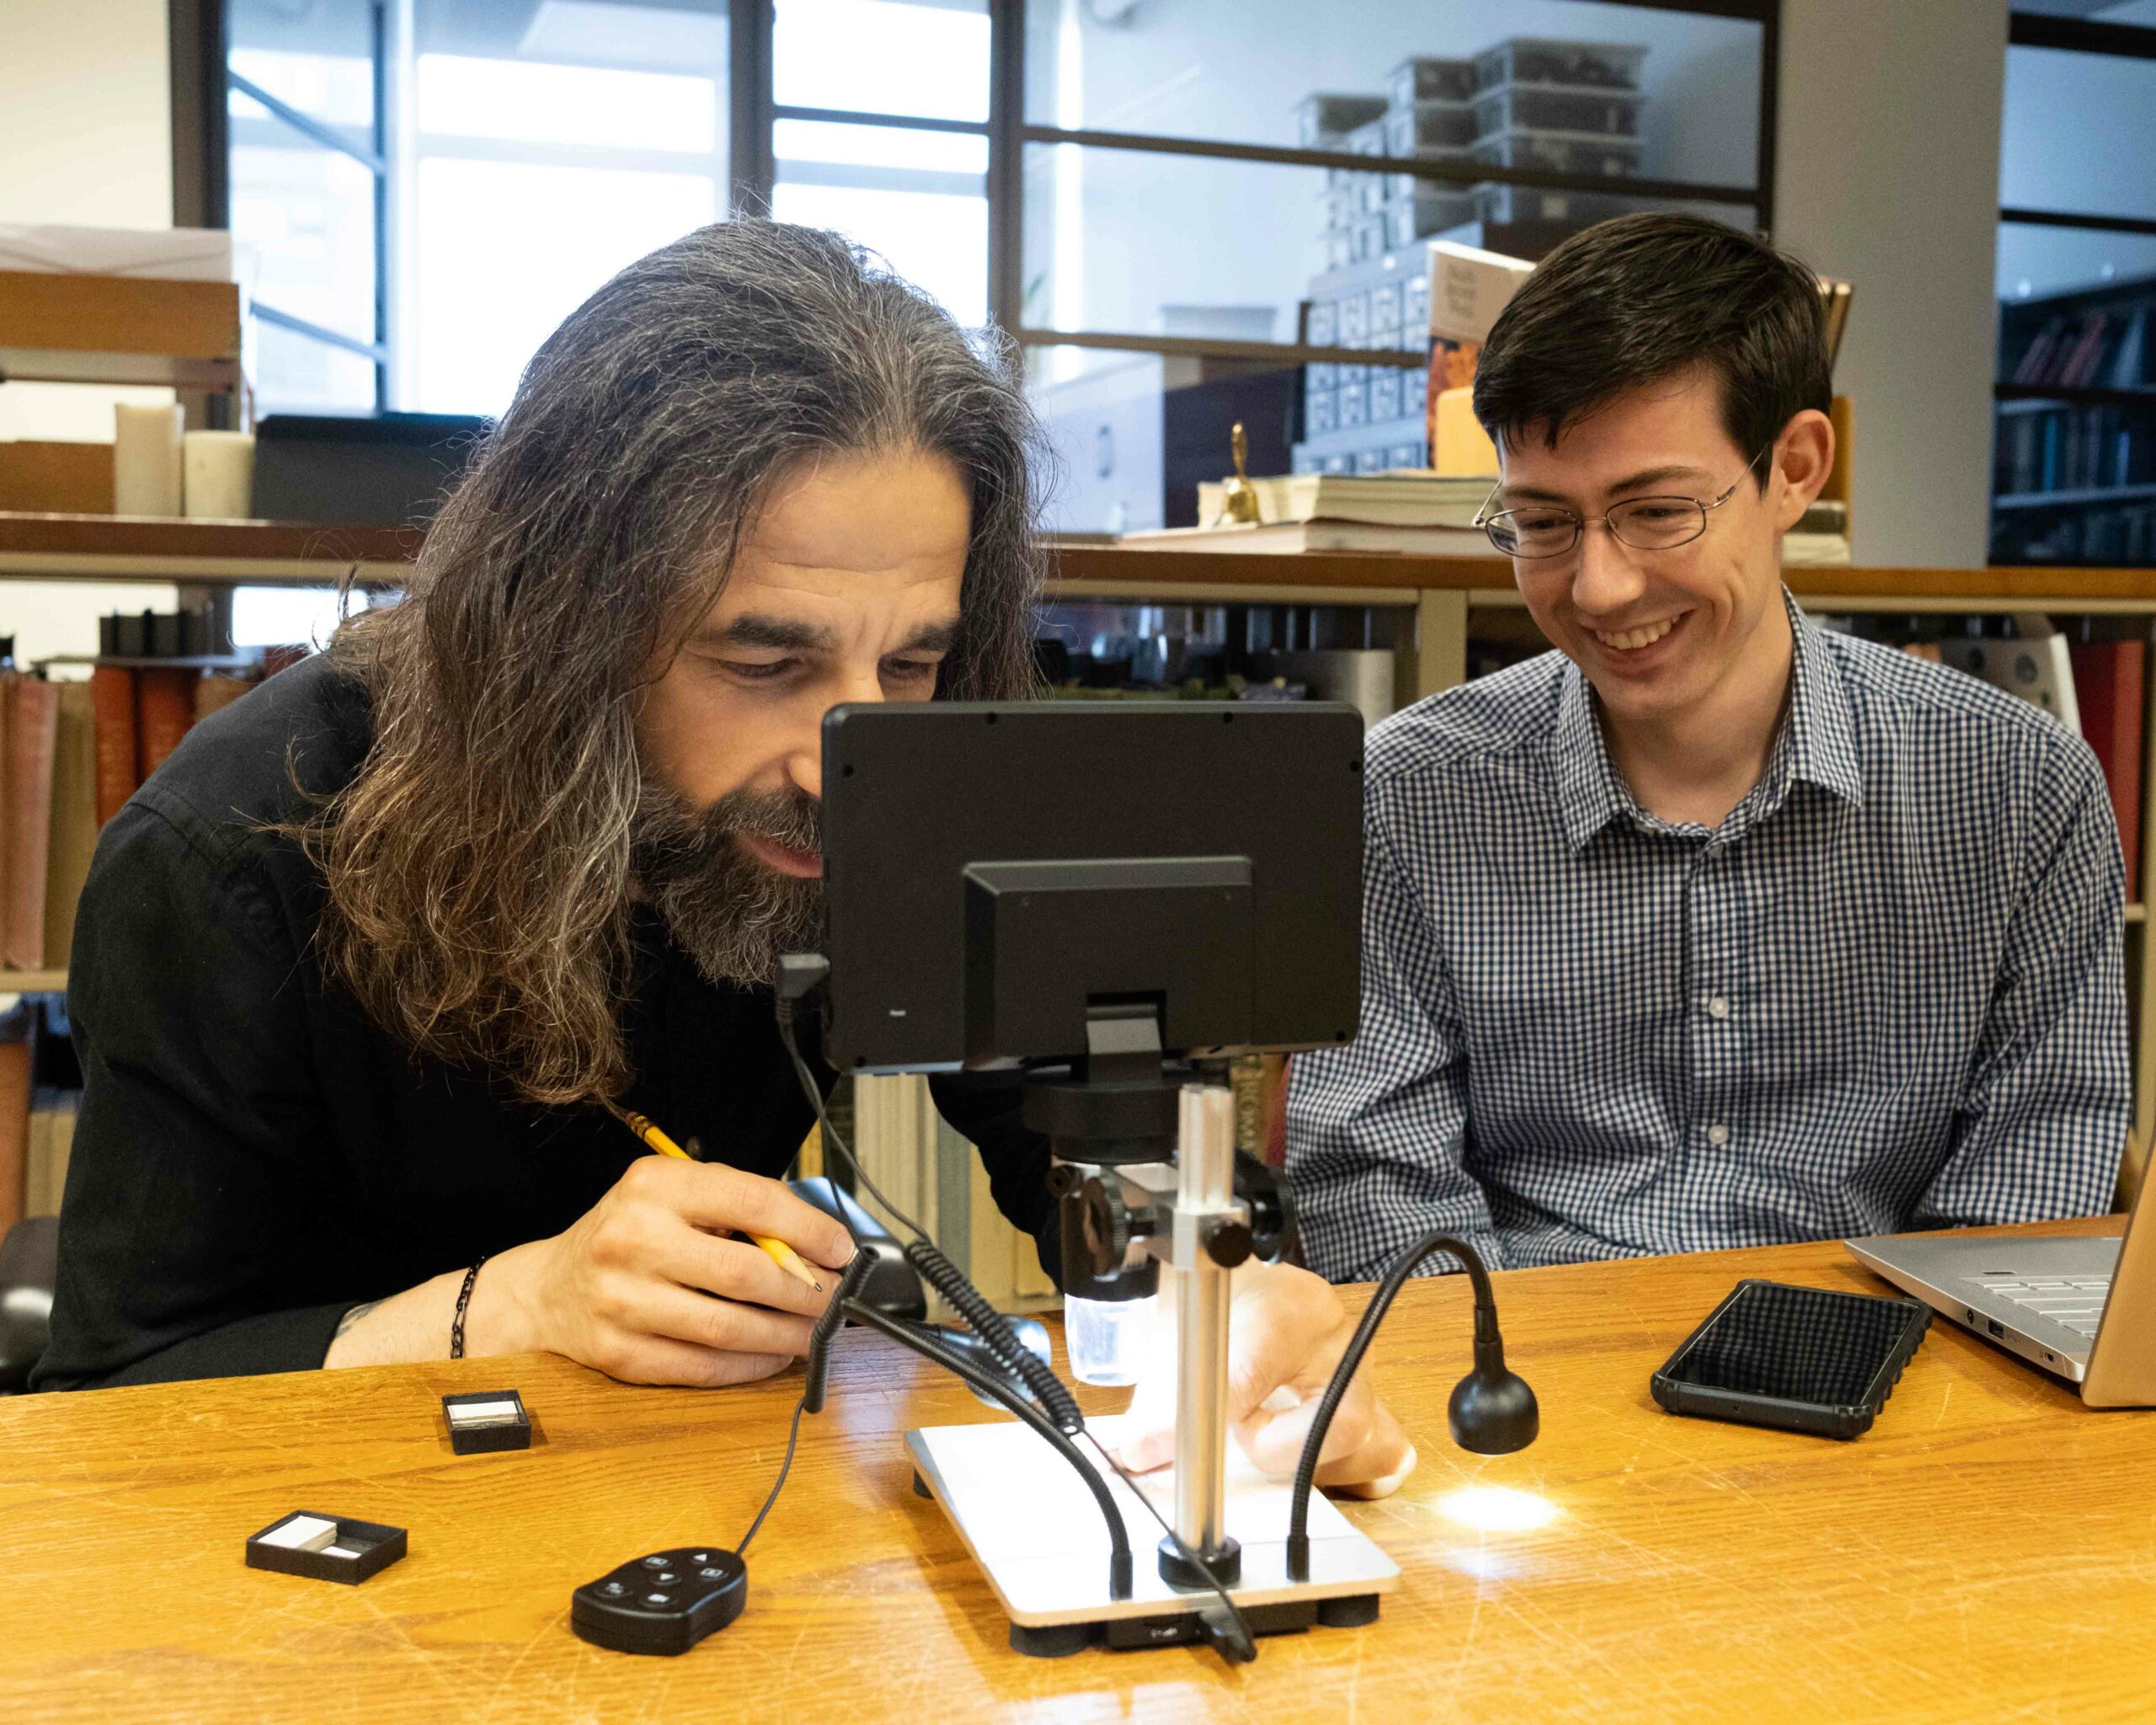
The Medallic Art Company Archives
The Medallic Production Process
Dr. Jesse Kraft
There are many, many approaches to create a piece of medallic art. The two primary methods split between cast and struck medals. This brief article describes the latter process—known as the bas-relief technique—as the basis of production used by the Medallic Art Co. (MACO).
The following is a most-remarkable video, The Medal Maker. This half-hour movie traces each of the steps taken by sculptor Laura Gardin Fraser to create the National Sculpture Society Special Medal of Honor (MACO.1929-019). This video was once thought lost for decades before being found, remastered, and is now narrated by sculptor and former U.S. Mint Chief Engraver Elizabeth Jones. Paired with the above essay, this video allows the viewer to see how the medallic process changed between 1929 and 1978.
The majority of information in the following article comes from an outstanding and illuminating article by sculptor and former U.S. Mint Engraver, Edward R. Grove, published in The Numismatist in 1978.
After conceptualizing a piece or being commissioned to design a medal, artists generally began with a rough pencil sketch. Large amounts of research were often expended on certain design elements, such as studying many different photographs and interpretations of an individual in order to capture the personality in the modelled bust of that subject.
Many sculptors began with a blank, circular, plaster slab many times larger than the diameter of the finished medal—usually about 10 inches of working space. The surface was often slightly concave, thus giving it the name plaster basin. The sketch that he or she made earlier was cast onto the plaster with the aid of an opaque projector and traced in pencil, while letters were scribed into the plaster. After a thorough dusting, the entire surface was then lacquered to seal the surface. This prevented the plaster from absorbing any moisture from the plastiline modeling clay, which the artist began to apply over the pencil sketch, slowly building it up to form basic features, such as a brow line, nose, eyes, ears, and so on. A combination of small wooden and wire modeling tools added needed details, though the artist continued to concentrate on the basic mood and expression is his or her subject.
When the basic form taken shape, the artist then created a plaster negative. A sheet of aluminum or heavy vinyl “fence” was positioned to completely encircle the plaster basin and plastiline model. The model was then coasted with a liquid separator, otherwise the oily nature of the plastiline would have worked to repel the wet plaster. This was then filled with ice-cold water and allowed to chill for half an hour before being drained. The artist mixed a batch of plaster of paris and, if able, placed on a vibrating table to force out any air. The bubbles were scooped off and the plaster is poured in to about one-quarter inch over the highest point of the plastiline clay. Oftentimes, the model would then be placed on the vibrating table to force out any remaining air. After about 45 minutes, the plaster set and the artist separated it from the original model. The result was a plaster negative model—incused and reversed—that was not yet 100% cured.
While the negative was still tender, the artist would then focus on the lettering, which then appeared as thin, raised outlines of the letters in retrograde. The letters were cut into the negative with a combination of sharp-edged steel cutters and scrapers. The lettering was cut deeper than needed so that they could be finished off later. If any texture was needed, this was also added at that point. The plaster negative was then allowed to completely cure.
The next step was to create a plaster positive. This was very similar to creating the negative, where the artist would lacquer the negative, fence it off, coat with a separator, and repeat the process. Even more so than when creating the negative, making sure that there was no air left in the plaster was of utmost importance. With lettering now in the equation, there were many more corners where air bubbles can cling to. Once separated, the plaster positive was thoroughly checked for voids caused by air bubbles. If any were found, these were filled in and later sanded down to meet the desired height and smoothness. Lettering was trimmed and sanded down to the desired height. The plaster positive was then left to cure. For medals that have two sides, this entire process was then repeated for the reverse design.
From this point on, the medal-making process was out of the hands of the artist and in the care of the Medallic Art Co. Once in their possession, the first step taken by MACO was to ensure that the plaster models are 100% cured by heat-drying them. They were then soaked in melted beeswax, drained, and dusted with finely-powdered copper before being suspended and lowered into an electrolytic bath of copper sulfate. When an electrical current was applied, a deposit of pure metallic copper formed on the surface of the plaster. After about 30 hours of electrolysis, this copper coating would reach a thickness between 1/16th and 1/8th of an inch. Once removed from the bath, the plaster model and the copper model were separated. This is an extremely precise copper negative of the artist’s work known as a die shell. No longer needed, the plaster models were often discarded. The die shell then reinforced with a lead backing and mounted onto plaster bases. If needed, the electrolysis process was performed with a plaster negative to create a copper positive, known as a galvano.
The die shell would then be fixed into the Janvier reducing machine. This device worked like a pantograph (similar to a record player), slowly tracing the design from the inside out and transferred it to the desired diameter of the finished product through the use of a high-speed cutting tool into softened high-quality steel. The reduction mimics the design both in layout, and in depth. The end result is the working die, basically ready to strike medals. If a large number of dies were needed, the galvano would be reduced to create a positive hub, which were used to make one-to-one transfers. Essentially, a hub is a die that makes dies. Oftentimes, medals were sold in a variety of sizes, so the 10-inch die shell would be reduced to three-, two-, and one-inch dies, or whatever sizes the customer ordered. The dies were then hardened for use.
In the meantime, annealed bronze, silver, or gold planchets were punched from strips of refined metal to the desired diameters. The planchets for medals with extremely high relief are cut smaller in diameter, yet thicker in thickness, than the finished medal to allow ensure enough metal is present to fill all aspects of the dies.
The dies were then removed to a minting press. In the early 20th century, a hydraulic press was used, but throughout the second half of the century, MACO utilized a thousand-ton knuckle-joint press. One-by-one, the planchets were placed between the vertically-mounted dies. Most medals needed multiple strikes, as the first strike would result in a transfer of only about 50% of the design. However, this one strike compressed the metal, which necessitated additional annealing of the medal between each blow of the dies. This involved heating and cooling the medal between each strike. Dependent upon the amount of relief, as many as eight strikes (and intermittent annealing were needed to fully bring up all of the design elements of a detailed medal.
Once struck, the medals were then placed into a lathe to finish off the edges and any edge markings were applied. A sandblasting with fine emery gave it a mildly-textured appearance. This, followed by chemical oxidization, a light hand-buffing, and a layer with a tough lacquer gave MACO medals their distinctive finish and appearance, as well as protected them from any unwanted oxidization. The medal were then packaged and sent to the distributor.